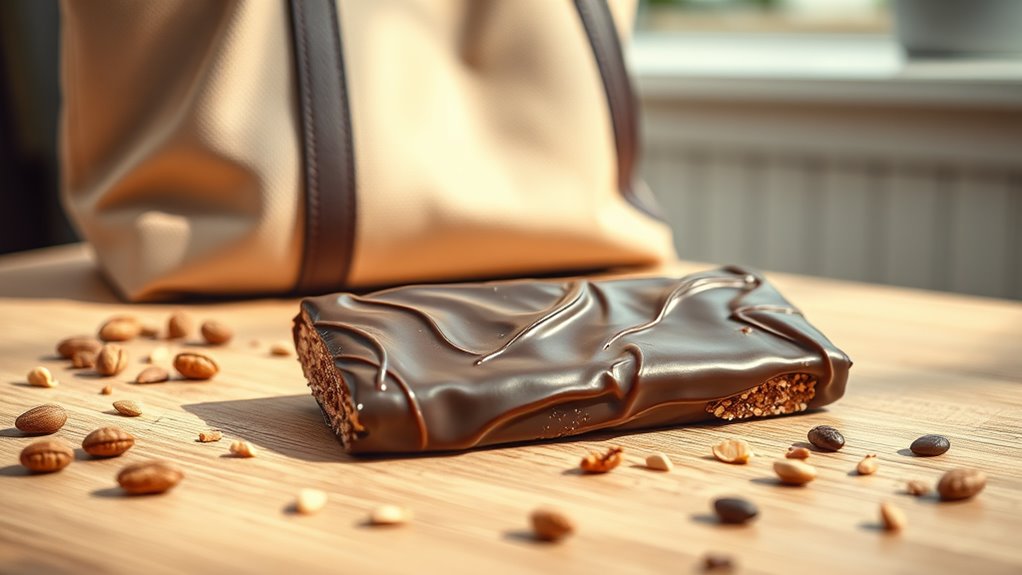
The Easiest Homemade Protein Bars You’ll Ever Make!
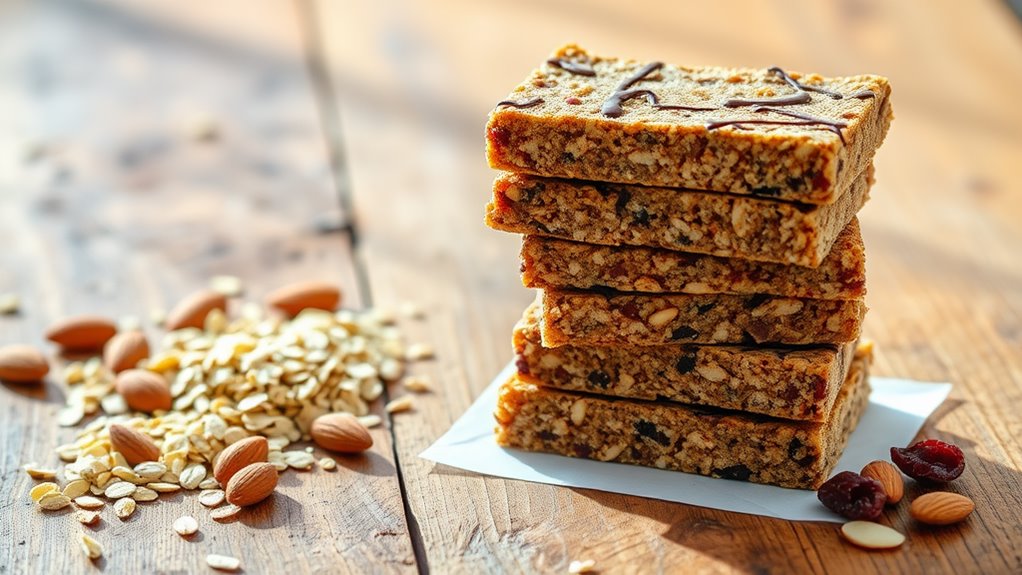
You can easily whip up your own protein bars with just basic pantry items and no baking! Start by mixing a cup of your favorite protein powder, some oats, and natural nut butter. Sweeten with honey and add in any nuts or dried fruits you like for texture and extra flavor. Press the mixture into a pan, chill, and then cut into bars. This way, you’ll know exactly what’s in your snack—plus, you can explore more customization options to suit your taste and dietary needs!
Key Takeaways
- Start with simple base ingredients like oats, protein powder, and natural nut butter.
- Use a no-bake recipe to save time and simplify the process.
- Mix all ingredients in one bowl for quick and easy preparation.
- Press the mixture into a pan and refrigerate until solid; no cooking required.
- Slice chilled mixture into bars for an effortless, ready-to-eat snack.
Why Make Your Own Protein Bars?
Making your own protein bars puts you in control of the ingredients and their quality, allowing you to avoid preservatives and fillers found in many store-bought options. Crafting these easy protein bars at home not only enhances your culinary skills but also ensures that you’re fueling your body with nutrients essential for peak performance. You’ll experience the satisfaction of creating a product tailored to your dietary preferences and nutritional needs—whether you aim for higher protein, lower sugar, or specific ingredients that support your health goals. Establishing this self-sufficiency elevates your understanding of what you eat and promotes a more mindful approach to nutrition. Therefore, choosing homemade ensures you maintain quality and integrity in every bite. Adding natural ingredients to your recipes enhances the nutritional value and deliciousness of your homemade protein bars.
Essential Ingredients for Homemade Protein Bars
To start your homemade protein bars, you’ll need a few key ingredients that act as the building blocks for both nutrition and flavor. First, select a high-quality protein powder—whey or plant-based options like pea or rice protein are excellent choices, depending on your dietary preferences. You’ll also need a binder, which can be natural nut butters such as almond or peanut butter. They not only enhance texture but also boost your bars’ protein content. For structure and fiber, incorporate oats or flaked quinoa. Sweeteners like honey or agave nectar provide natural sweetness and help to bind the ingredients together. Lastly, consider adding mix-ins like dried fruits, nuts, or dark chocolate chips to tailor the taste and add nutritional benefits. Simple recipes often also include a pinch of salt to enhance the flavors, ensuring all ingredients meld perfectly in your homemade snack.
Equipment You Will Need
Before you begin crafting your homemade protein bars, it’s essential to gather the right equipment to ensure a smooth preparation process. Here’s what you’ll need:
-
Food Processor – Crucial for blending nuts, oats, and powders into a fine, cohesive mixture. Choose one with powerful blades.
-
Mixing Bowls – You’ll need at least one large bowl for combining ingredients thoroughly.
-
Measuring Spoons and Cups – Accuracy is key in achieving the desired taste and texture, so precision tools are a must.
-
Baking Sheet or Pan – Depending on whether you prefer your bars baked or chilled, a non-stick surface will facilitate easy bar removal and cleanup.
Gather these items and you’re set to excel in your protein bar creation. Using these tools will enable you to customize your bars with various flavors and ingredients, ensuring they meet your nutritional goals and taste preferences.
Step-by-Step Guide to Making Protein Bars
Once you’ve gathered all the necessary equipment, you’re ready to dive into the exciting part: making your own protein bars.
Start by mixing one cup of protein powder with half a cup of oats and a quarter cup of flaxseed in a large bowl. You’re aiming for a well-integrated dry mixture.
Next, add in a half cup of peanut butter and a third cup of honey for binding and sweetness. You’ll want to mix until the consistency becomes sticky and uniform.
Press this mixture firmly into a lined baking dish, ensuring it’s even and compact. Chill the concoction in your refrigerator for at least two hours.
Finally, slice it into bars. There, you’ve mastered your basic protein bar recipe!
For added nutritional benefits consider incorporating superfood ingredients like chia seeds or blueberries into your mixture.
Customizing Your Protein Bar Flavors
Now that you’ve mastered the basics of making protein bars, let’s add a personal touch to your creations.
You can start by selecting your base ingredients; whether you prefer oats, nuts, or seeds, it’s up to you.
Next, incorporate some natural sweeteners like honey or maple syrup, and don’t forget to explore a variety of mix-ins such as dried fruits, chocolate chips, or spices to truly make each bar your own.
For an additional nutritional boost, consider adding protein powder or other nutritious supplements to meet your dietary needs while keeping your snacks delicious and healthy.
Selecting Your Base Ingredients
Choosing the right base ingredients is crucial for customizing your protein bar flavors to suit your taste. Here’s how to choose the best components:
-
Protein Powders: Start with a high-quality protein powder—whey, pea, or rice. Each offers distinct flavors; whey is creamy, pea is subtly sweet, and rice is mild and neutral.
-
Binding Agents: Natural binders like dates or nut butters not only enhance texture but also contribute their unique flavors.
-
Nuts and Seeds: Choose from almonds, chia, or flax seeds for textured crunch and nuttiness.
-
Grains: Rolled oats or puffed quinoa can give your bars a satisfying, chewy foundation.
Experiment with these bases to discover your perfectly flavored protein bar.
Adding Natural Sweeteners
After selecting your base ingredients, consider enhancing the flavor profile of your protein bars by incorporating natural sweeteners.
Opt for raw honey or pure maple syrup for their unique flavors and health benefits; they’re not just sweeteners but also packed with antioxidants and nutrients. Alternatively, agave nectar or coconut sugar can offer rich tastes with lower glycemic indices, suitable for maintaining steadier blood sugar levels.
Concentrate on the quality and proportion of these sweeteners. Over-sweetening can overpower your bars’ natural flavors and textures, while too little may leave them bland.
Aim for a balance that complements, rather than dominates. Experimentation is key — start with small amounts and adjust based on your taste preference and nutritional goals.
Exploring Mix-In Varieties
Why stop at sweeteners when you can elevate your protein bars with exciting mix-ins?
Whether you’re looking to bolster taste or ramp up nutritional content, your choices in add-ins can transform your bars from basic to brilliant.
Here’s how to diversify flavors and textures:
-
Nuts and Seeds: Incorporate chopped almonds, walnuts, or sunflower seeds for a satisfying crunch and a boost in Omega-3s.
-
Dried Fruit: Mix in chopped dates, dried blueberries, or cherries to add natural sweetness and a chewy texture.
-
Superfoods: Sprinkle in chia seeds, flax seeds, or hemp seeds to enhance the fiber and protein content.
-
Chocolate and Spices: Stir in dark chocolate chips and a dash of cinnamon or nutmeg for a rich flavor kick.
Experiment and find your favorite combinations!
Storing and Preserving Freshness
Now that you’ve crafted your perfect protein bars, it’s crucial to focus on keeping them fresh.
You’ll want to understand the optimal storage conditions that’ll help in maximizing their shelf life.
Let’s explore how you can ensure your bars remain delicious and nutritious over time.
Optimal Storage Conditions
Once you’ve crafted your homemade protein bars, storing them properly is crucial to maintain their freshness and nutritional value.
Here are four key conditions to ensure optimal storage:
-
Temperature Control: Store your bars in a cool, dry place. Room temperature is ideal, typically between 68-72°F (20-22°C).
-
Air Tight Containers: Use air-tight containers to protect them from moisture and contaminants.
-
Avoid Light Exposure: Store the containers in a cupboard or pantry to minimize exposure to light, which can degrade nutrients.
-
Separate Flavors: If you’ve made multiple flavors, store them separately to prevent the mingling of scents and tastes which can affect the individual quality of each bar.
Maximizing Shelf Life
Following the optimal storage conditions you’ve already set up can significantly extend the shelf life of your homemade protein bars. However, further steps ensure they stay fresh longer. First, consider the ingredients you’re using. Natural preservatives like vitamin E (often labeled as mixed tocopherols) can preserve freshness and extend shelf life. Next, wrapping each bar individually in airtight materials such as plastic wrap helps prevent moisture loss.
| Factor | Action | Benefit |
|---|---|---|
| Ingredients | Add preservatives | Extends freshness by combating oxidation |
| Wrapping | Airtight sealing | Minimizes moisture loss and contamination |
| Storage Temp | Keep below 70°F | Slows bacterial growth |
| Container | Use opaque options | Protects from light damage |
Nutritional Benefits of Homemade Bars
Understanding the nutritional benefits of homemade protein bars can drastically alter your perspective on snack time.
You’re in control of what you’re consuming, which can be a game-changer for your health and fitness goals. Here’s why making your own bars is a wise decision:
-
Complete Protein Sources: Include a variety of proteins like whey, casein, or plant-based options to ensure you’re getting all essential amino acids.
-
Balanced Macros: Tailor the carbohydrate, protein, and fat content to perfectly suit your dietary needs.
-
No Unnecessary Additives: You avoid preservatives and artificial sweeteners commonly found in store-bought bars.
-
Enhanced Micronutrients: Add ingredients like nuts, seeds, and dried fruits to boost vitamin and mineral intake, supporting overall wellness.
Tips for Perfect Bars Every Time
With a solid grasp on why homemade protein bars can be immensely beneficial, let’s ensure you can make them perfectly every time.
First, consistency is key. Use precise measurements for ingredients to maintain texture and nutrition. Opt for quality ingredients; your bars are only as good as what you put in them.
Mixing thoroughly ensures that each bar has a uniform taste and nutritional value. Don’t rush the process—allow the mixture to rest if specified in your recipe to ensure ingredients bind well.
Lastly, experiment with baking times in your oven, as slight variations can affect moistness and chewiness. Mastering these nuances will elevate your homemade protein bars from good to exceptional.
Allergen-Free Options for Protein Bars
When crafting allergen-free protein bars, it’s crucial you select safe ingredients to avoid common triggers like nuts, gluten, or dairy.
You’ll also need to explore alternative protein sources, such as pea protein or hemp seeds, that are both safe and nutritious.
This way, you can ensure your homemade bars are enjoyable and accessible for everyone, including those with food allergies.
Selecting Safe Ingredients
As you embark on making your homemade protein bars, selecting safe, allergen-free ingredients is crucial to ensure they’re enjoyable and healthy for everyone. Here’s how to master your selection:
-
Choose Certified Gluten-Free Oats: Gluten is a common allergen. Ensure your oats are certified gluten-free to avoid cross-contamination.
-
Opt for Nut-Free Seeds: Replace nuts with seeds like pumpkin or sunflower to cater to nut allergies while providing essential fats and proteins.
-
Select Natural Sweeteners: Avoid artificial sweeteners; opt for natural choices like honey or pure maple syrup, which are less likely to cause reactions.
-
Use Hypoallergenic Protein Powders: Select rice, pea, or hemp protein powders as they’re generally safer for those with allergies.
Alternative Protein Sources
Building on choosing safe ingredients for your protein bars, let’s explore some alternative protein sources that don’t involve common allergens.
Quinoa, hemp seeds, and chia seeds are excellent options. They’re naturally free from gluten, dairy, and nuts, making them safe for nearly everyone.
Quinoa is particularly rich in all nine essential amino acids, making it a complete protein. Hemp seeds aren’t far behind, offering a substantial protein boost and essential fatty acids that are crucial for heart health.
Chia seeds, on the other hand, are a powerhouse of nutrients, including omega-3 fatty acids, which enhance the nutritional profile of your bars.
Integrating these sources can help you cater to various dietary needs while maintaining high protein content.
Fun Add-Ins and Toppings for Your Bars
To add excitement to your homemade protein bars, consider mixing in some fun ingredients and sprinkling on creative toppings. Here’s a list to inspire your next batch:
-
Chopped Nuts and Seeds: Almonds, walnuts, or chia seeds add crunch and boost the nutritional value.
-
Dried Fruit: Small pieces of dried cranberries, apricots, or goji berries inject a sweet, chewy texture.
-
Chocolate Chips or Cocoa Nibs: For a hint of decadence, blend in dark chocolate chips or antioxidant-rich cocoa nibs.
-
Spices and Extracts: A dash of cinnamon, a sprinkle of nutmeg, or a few drops of vanilla extract can profoundly enhance the flavor profile.
Experiment with these combinations to find your perfect, palate-pleasing protein bar!
Frequently Asked Questions
Can I Use Plant-Based Protein Powder for These Bars?
Yes, you can absolutely use plant-based protein powder for these bars. It’s a great substitute for whey protein and works well with other ingredients to maintain texture and flavor in your recipe.
Are These Protein Bars Suitable for Kids?
Yes, you can make these protein bars kid-friendly by choosing appropriate ingredients. Just ensure that any added nuts or supplements are safe for your child’s age and any dietary restrictions they may have.
How Do I Know if My Protein Bars Are Too Dry?
If your protein bars lack a bit of tenderness, they’re likely too parched. You’ll notice they crumble easily. To enhance moisture, consider adding a touch more oil or liquid to the mixture.
Can I Freeze the Protein Bars for Long-Term Storage?
Yes, you can freeze your protein bars for long-term storage. Just wrap them individually in parchment paper and store in airtight containers or freezer bags to keep them fresh and avoid freezer burn.
Are Homemade Protein Bars Cost-Effective Compared to Store-Bought?
Yes, crafting your protein-packed delights usually costs less than premade options. By selecting bulk ingredients, you’ll save money and customize flavors to your liking, enhancing both nutritional value and personal satisfaction.